Provision
Before you run the provision tool
(Recommended) Run
prereq.shto get the system ready to deploy Omnia. Alternatively, ensure that Ansible 2.12.10 and Python 3.8 are installed on the system. SELinux should also be disabled.Set the IP address of the control plane.
Set the hostname of the control plane using the
hostname.domain nameformat.- Hostname requirements
The Hostname should not contain the following characters: , (comma), . (period) or _ (underscore). However, the domain name is allowed commas and periods.
The Hostname cannot start or end with a hyphen (-).
No upper case characters are allowed in the hostname.
The hostname cannot start with a number.
The hostname and the domain name (that is:
hostname00000x.domain.xxx) cumulatively cannot exceed 64 characters. For example, if thenode_nameprovided ininput/provision_config.ymlis ‘node’, and thedomain_nameprovided is ‘omnia.test’, Omnia will set the hostname of a target compute node to ‘node00001.omnia.test’. Omnia appends 6 digits to the hostname to individually name each target node.
For example,
controlplane.omnia.testis acceptable.
Note
The domain name specified for the control plane should be the same as the one specified under domain_name in input/provision_config.yml.
To provision the bare metal servers, download one of the following ISOs for deployment:
Note the compatibility between cluster OS and control plane OS below:
To set up CUDA and OFED using the provisioning tool, download the required repositories from here:
To dictate IP address/MAC mapping, a host mapping file can be provided. Use the pxe_mapping_file.csv to create your own mapping file.
Ensure that all connection names under the network manager match their corresponding device names.
nmcli connection
In the event of a mismatch, edit the file /etc/sysconfig/network-scripts/ifcfg-<nic name> using vi editor.
When discovering nodes via snmpwalk or a mapping file, all target nodes should be set up in PXE mode before running the playbook.
Nodes provisioned using the Omnia provision tool do not require a RedHat subscription to run
provision.ymlon RHEL target nodes.For RHEL target nodes not provisioned by Omnia, ensure that RedHat subscription is enabled on all target nodes. Every target node will require a RedHat subscription.
Users should also ensure that all repos (AppStream, BaseOS and CRB) are available on the RHEL control plane.
Uninstall epel-release if installed on the control plane as Omnia configures epel-release on the control plane. To uninstall epel-release, use the following commands:
dnf remove epel-release -y
Note
To enable the repositories, run the following commands:
subscription-manager repos --enable=codeready-builder-for-rhel-8-x86_64-rpms
subscription-manager repos --enable=rhel-8-for-x86_64-appstream-rpms
subscription-manager repos --enable=rhel-8-for-x86_64-baseos-rpms
Verify your changes by running:
yum repolist enabled
Ensure that the
pxe_nicandpublic_nicare in the firewalld zone: public.The control plane NIC connected to remote servers (through the switch) should be configured with two IPs in a shared LOM set up. This NIC is configured by Omnia with the IP xx.yy.255.254, aa.bb.255.254 (where xx.yy are taken from
bmc_nic_subnetand aa.bb are taken fromadmin_nic_subnet) whennetwork_interface_typeis set tolom. For other discovery mechanisms, only the admin NIC is configured with aa.bb.255.254 (Where aa.bb is taken fromadmin_nic_subnet).

Note
After configuration and installation of the cluster, changing the control plane is not supported. If you need to change the control plane, you must redeploy the entire cluster.
If there are errors while executing any of the Ansible playbook commands, then re-run the playbook.
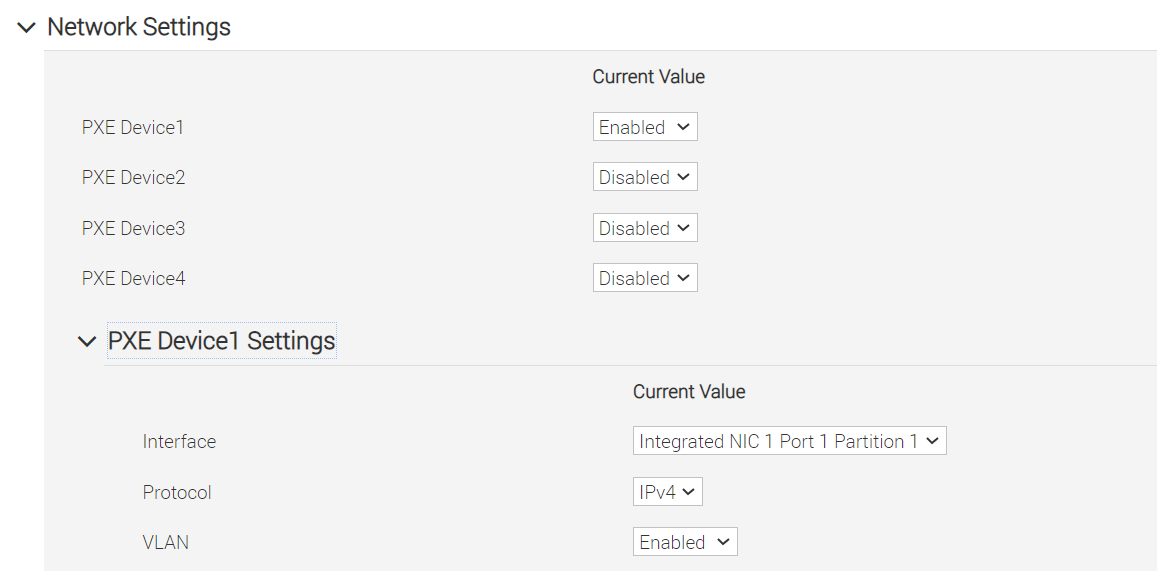
For servers with an existing OS being discovered via BMC, ensure that the first PXE device on target nodes should be the designated active NIC for PXE booting.
Provisioning the cluster
Edit the input/provision_config.yml file to update the required variables. A list of the variables required is available by discovery mechanism.
Note
The first PXE device on target nodes should be the designated active NIC for PXE booting.
Optional configurations managed by the provision tool
Installing CUDA
Using the provision tool
If
cuda_toolkit_pathis provided ininput/provision_config.ymland NVIDIA GPUs are available on the target nodes, CUDA packages will be deployed post provisioning without user intervention.Using the Accelerator playbook
CUDA can also be installed using accelerator.yml after provisioning the servers (Assuming the provision tool did not install CUDA packages).
Note
The CUDA package can be downloaded from here
CUDA requires an additional reboot while being installed. While this is taken care of by Omnia, users are required to wait an additional few minutes when running the provision tool with CUDA installation for the target nodes to come up.
Installing OFED
Using the provision tool
If
mlnx_ofed_pathis provided ininput/provision_config.ymland Mellanox NICs are available on the target nodes, OFED packages will be deployed post provisioning without user intervention.Note
When leveraging the provision tool to install OFED, Omnia prevents the following packages from being upgraded: dapl* ibacm infiniband* libmlx* librdma* opensm* ibutils* perftest* openmpi by appending
exclude=dapl* ibacm infiniband* libmlx* librdma* opensm* ibutils* perftest* openmpito/etc/yum.conf. For more information on this, click here.Using the Network playbook
OFED can also be installed using network.yml after provisioning the servers (Assuming the provision tool did not install OFED packages).
Note
The OFED package can be downloaded from here .
Assigning infiniband IPs
When ib_nic_subnet is provided in input/provision_config.yml, the infiniband NIC on target nodes are assigned IPv4 addresses within the subnet without user intervention. When PXE range and Infiniband subnet are provided, the infiniband NICs will be assigned IPs with the same 3rd and 4th octets as the PXE NIC.
For example on a target node, when the PXE NIC is assigned 10.5.0.101, and the Infiniband NIC is assigned 10.10.0.101 (where
ib_nic_subnetis 10.10.0.0).
Note
The IP is assigned to the interface ib0 on target nodes only if the interface is present in active mode. If no such NIC interface is found, xCAT will list the status of the node object as failed.
Assigning BMC IPs
When target nodes are discovered via SNMP or mapping files (ie discovery_mechanism is set to snmp or mapping in input/provision_config.yml), the bmc_nic_subnet in input/provision_config.yml can be used to assign BMC IPs to iDRAC without user intervention. When PXE range and BMC subnet are provided, the iDRAC NICs will be assigned IPs with the same 3rd and 4th octets as the PXE NIC.
For example on a target node, when the PXE NIC is assigned 10.5.0.101, and the iDRAC NIC is assigned 10.3.0.101 (where
bmc_nic_subnetis 10.3.0.0).
Using multiple versions of a given OS
Omnia now supports deploying different versions of the same OS. With each run of provision.yml, a new deployable OS image is created with a distinct type (rocky or RHEL) and version (8.0, 8.1, 8.2, 8.3, 8.4, 8.5, 8.6, 8.7) depending on the values provided in input/provision_config.yml.
Note
While Omnia deploys the minimal version of the OS, the multiple version feature requires that the Rocky full (DVD) version of the OS be provided.
The multiple OS feature is only available with Rocky 8.7 when xCAT 2.16.5 is in use. [Currently, Omnia uses 2.16.4]
DHCP routing for internet access
Omnia now supports DHCP routing via the control plane. To enable routing, update the primary_dns and secondary_dns in input/provision_config.yml with the appropriate IPs (hostnames are currently not supported). For compute nodes that are not directly connected to the internet (ie only PXE network is configured), this configuration allows for internet connectivity.
Disk partitioning
Omnia now allows for customization of disk partitions applied to remote servers. The disk partition desired_capacity has to be provided in MB. Valid mount_point values accepted for disk partition are /home, /var, /tmp, /usr, swap. Default partition size provided for /boot is 1024MB, /boot/efi is 256MB and the remaining space to / partition. Values are accepted in the form of JSON list such as:
disk_partition:
    - { mount_point: "/home", desired_capacity: "102400" }
    - { mount_point: "swap", desired_capacity: "10240" }
Running the provision tool
To deploy the Omnia provision tool, run the following command
cd provision
ansible-playbook provision.yml
provision.yml runs in three stages that can be called individually:
Preparing the control plane
Verifies pre-requisites such as SELinux and xCAT services status.
Installs required tool packages.
Verifies and updates firewall settings.
Installs xCAT.
Configures xCAT databases basis
input/provision_config.yml.Configures the control plane with NTP services for compute node synchronization.
To call this playbook individually, ensure that input/provision_config.yml is updated and then run:
ansible-playbook prepare_cp.yml
Creating/updating the repositories
Creates and updates all repositories required locally.
This playbook also invokes the
airgap.ymlplaybook for creating offline repositories. For more information on this, click here.To call this playbook individually, ensure that
prepare_cp.ymlhas run at least once and then run:ansible-playbook repo_manipulate.yml
Discovering/provisioning the nodes
Discovers all target servers based on specifications in
input/provision_config.yml.Provisions all discovered servers.
PostgreSQL database is set up with all relevant cluster information such as MAC IDs, hostname, admin IP, infiniband IPs, BMC IPs etc.
To call this playbook individually, ensure that repo_manipulate.yml has run at least once and then run:
ansible-playbook discovery_provision.yml
After successfully running provision.yml, go to Building Clusters to setup Slurm, Kubernetes, NFS, BeeGFS and Authentication.
Note
If the cluster does not have access to the internet, AppStream will not function. To provide internet access through the control plane (via the PXE network NIC), update
primary_dnsandsecondary_dnsinprovision_config.ymland runprovision.ymlAll ports required for xCAT to run will be opened (For a complete list, check out the Security Configuration Document).
After running
provision.yml, the fileinput/provision_config.ymlwill be encrypted. To edit the file, use the command:ansible-vault edit provision_config.yml --vault-password-file .provision_vault_keyTo re-provision target servers
provision.ymlcan be re-run with a new inventory file that contains a list of admin (PXE) IPs. For more information, click herePost execution of
provision.yml, IPs/hostnames cannot be re-assigned by changing the mapping file. However, the addition of new nodes is supported as explained here.
Caution
Once xCAT is installed, restart your SSH session to the control plane to ensure that the newly set up environment variables come into effect.
To avoid breaking the passwordless SSH channel on the control plane, do not run
ssh-keygencommands post execution ofprovision.yml.
If you have any feedback about Omnia documentation, please reach out at omnia.readme@dell.com.