Provisioning the cluster
Edit the
input/provision_config.ymlfile to update the required variables.
Note
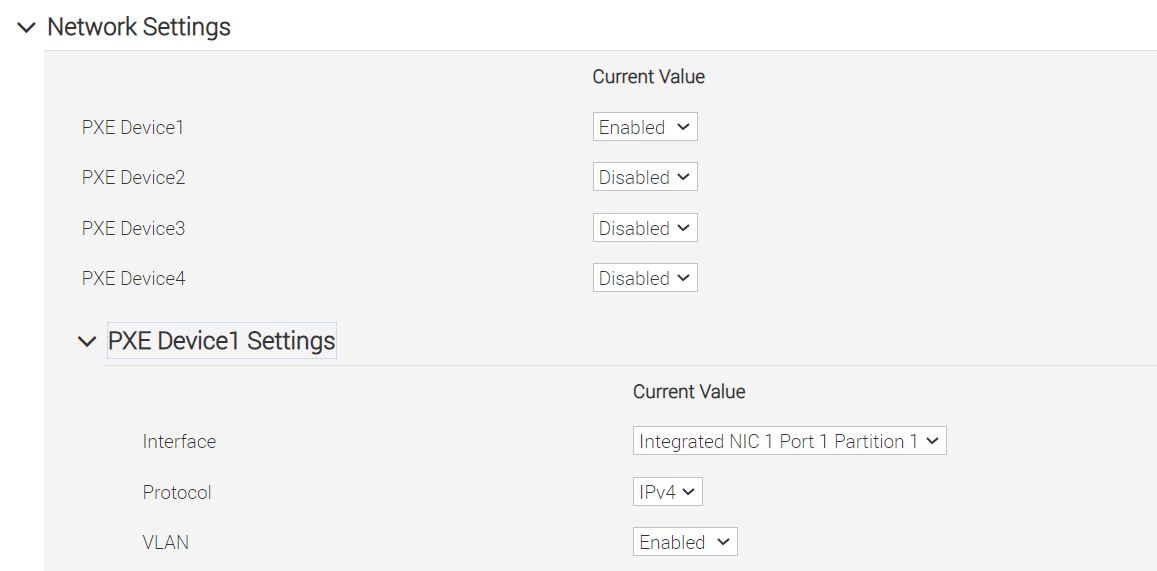
The first PXE device on target nodes should be the designated active NIC for PXE booting.
To deploy the Omnia provision tool, run the following command
cd provision
ansible-playbook provision.yml
By running
provision.yml, the following configurations take place:
All compute nodes in cluster will be enabled for PXE boot with osimage mentioned in
provision_config.yml.A PostgreSQL database is set up with all relevant cluster information such as MAC IDs, hostname, admin IP, infiniband IPs, BMC IPs etc.
To access the DB, run:
psql -U postgres

\c omniadb
To view the schema being used in the cluster:
\dnTo view the tables in the database:
\dtTo view the contents of the
nodeinfotable:select * from cluster.nodeinfo;id | serial | node | hostname | admin_mac | admin_ip | bmc_ip | ib_ip | status | bmc_mode ----+--------+-----------+---------------------+-------------------+--------------+--------------+-------------+--------+---------- 1 | XXXXXXX | node00001 | node00001.omnia.test | ec:2a:72:32:c6:98 | 10.5.0.111 | 10.3.0.111 | 10.10.0.111 | powering-on | static 2 | XXXXXXX | node00002 | node00002.omnia.test | f4:02:70:b8:cc:80 | 10.5.0.112 | 10.3.0.112 | 10.10.0.112 | booted | dhcp 3 | XXXXXXX | node00003 | node00003.omnia.test | 70:b5:e8:d1:19:b6 | 10.5.0.113 | 10.3.0.113 | 10.10.0.113 | post-booting | static 4 | XXXXXXX | node00004 | node00004.omnia.test | b0:7b:25:dd:e8:4a | 10.5.0.114 | 10.3.0.114 | 10.10.0.114 | booted | static 5 | XXXXXXX | node00005 | node00005.omnia.test | f4:02:70:b8:bc:2a | 10.5.0.115 | 10.3.0.115 | 10.10.0.115 | booted | static
Possible values of status are static, powering-on, installing, bmcready, booting, post-booting, booted, failed. The status will be updated every 3 minutes.
Note
For nodes listing status as ‘failed’, provisioning logs can be viewed in /var/log/xcat/xcat.log on the target nodes.
Offline repositories will be created based on the OS being deployed across the cluster.
The xCAT post bootscript is configured to assign the hostname (with domain name) on the provisioned servers.
Once the playbook execution is complete, ensure that PXE boot and RAID configurations are set up on remote nodes. Users are then expected to reboot target servers discovered via SNMP or mapping to provision the OS.
Note
If the cluster does not have access to the internet, AppStream will not function. To provide internet access through the control plane (via the PXE network NIC), update
primary_dnsandsecondary_dnsinprovision_config.ymland runprovision.ymlAll ports required for xCAT to run will be opened (For a complete list, check out the Security Configuration Document).
After running
provision.yml, the fileinput/provision_config.ymlwill be encrypted. To edit the file, use the command:ansible-vault edit provision_config.yml --vault-password-file .provision_vault_keyTo re-provision target servers
provision.ymlcan be re-run with a new inventory file that contains a list of admin (PXE) IPs. For more information, click herePost execution of
provision.yml, IPs/hostnames cannot be re-assigned by changing the mapping file. However, the addition of new nodes is supported as explained below.Once the cluster is provisioned, enable RedHat subscription on all RHEL target nodes to ensure smooth execution of Omnia playbooks to configure the cluster with Slurm, Kubernetes.
Warning
Once xCAT is installed, restart your SSH session to the control plane to ensure that the newly set up environment variables come into effect.
To avoid breaking the passwordless SSH channel on the control plane, do not run
ssh-keygencommands post execution ofprovision.yml.
Installing CUDA
Using the provision tool
If
cuda_toolkit_pathis provided ininput/provision_config.ymland NVIDIA GPUs are available on the target nodes, CUDA packages will be deployed post provisioning without user intervention.
Using the Accelerator playbook
CUDA can also be installed using accelerator.yml after provisioning the servers (Assuming the provision tool did not install CUDA packages).
Note
The CUDA package can be downloaded from here
Installing OFED
Using the provision tool
If
mlnx_ofed_pathis provided ininput/provision_config.ymland Mellanox NICs are available on the target nodes, OFED packages will be deployed post provisioning without user intervention.
Using the Network playbook
OFED can also be installed using network.yml after provisioning the servers (Assuming the provision tool did not install OFED packages).
Note
The OFED package can be downloaded from here .
Assigning infiniband IPs
When ib_nic_subnet is provided in input/provision_config.yml, the infiniband NIC on target nodes are assigned IPv4 addresses within the subnet without user intervention. When PXE range and Infiniband subnet are provided, the infiniband NICs will be assigned IPs with the same 3rd and 4th octets as the PXE NIC.
For example on a target node, when the PXE NIC is assigned 10.5.0.101, and the Infiniband NIC is assigned 10.10.0.101 (where
ib_nic_subnetis 10.10.0.0).
Note
The IP is assigned to the interface ib0 on target nodes only if the interface is present in active mode. If no such NIC interface is found, xCAT will list the status of the node object as failed.
Assigning BMC IPs
When target nodes are discovered via SNMP or mapping files (ie discovery_mechanism is set to snmp or mapping in input/provision_config.yml), the bmc_nic_subnet in input/provision_config.yml can be used to assign BMC IPs to iDRAC without user intervention. When PXE range and BMC subnet are provided, the iDRAC NICs will be assigned IPs with the same 3rd and 4th octets as the PXE NIC.
For example on a target node, when the PXE NIC is assigned 10.5.0.101, and the iDRAC NIC is assigned 10.3.0.101 (where
bmc_nic_subnetis 10.3.0.0).
Using multiple versions of a given OS
Omnia now supports deploying different versions of the same OS. With each run of provision.yml, a new deployable OS image is created with a distinct type (rocky or RHEL) and version (8.0, 8.1, 8.2, 8.3, 8.4, 8.5, 8.6, 8.7) depending on the values provided in input/provision_config.yml.
Note
While Omnia deploys the minimal version of the OS, the multiple version feature requires that the Rocky full (DVD) version of the OS be provided.
DHCP routing for internet access
Omnia now supports DHCP routing via the control plane. To enable routing, update the primary_dns and secondary_dns in input/provision_config.yml with the appropriate IPs (hostnames are currently not supported). For compute nodes that are not directly connected to the internet (ie only PXE network is configured), this configuration allows for internet connectivity.
Disk partitioning
Omnia now allows for customization of disk partitions applied to remote servers. The disk partition desired_capacity has to be provided in MB. Valid mount_point values accepted for disk partition are /home, /var, /tmp, /usr, swap. Default partition size provided for /boot is 1024MB, /boot/efi is 256MB and the remaining space to / partition. Values are accepted in the form of JSON list such as:
disk_partition:
    - { mount_point: "/home", desired_capacity: "102400" }
    - { mount_point: "swap", desired_capacity: "10240" }